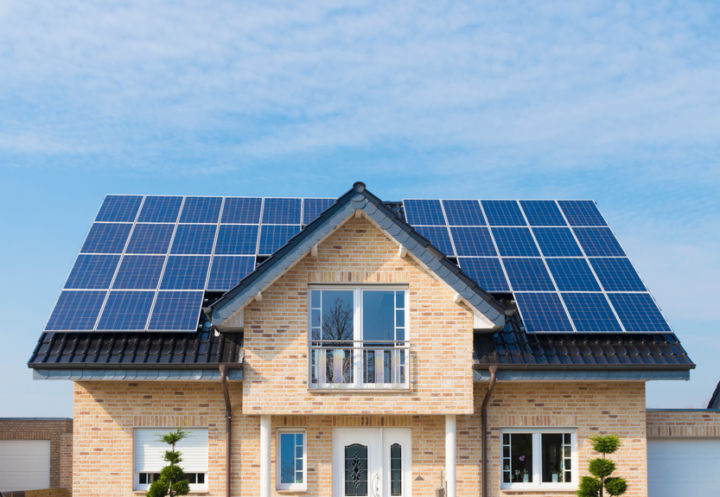
We all know by now, that a solar panel is a device that absorbs sunlight and converts this energy into usable electricity. As the price of a solar panel goes down and efficiencies improve, it is attracting masses all over the world to go off the grid. Once you incur the cost of a solar system and its installation, you can practically generate free electricity over the next 25-30 years. But how is this solar panel made, what materials are involved, how different parts are put together to result in a device that is capable of providing you with free electricity?
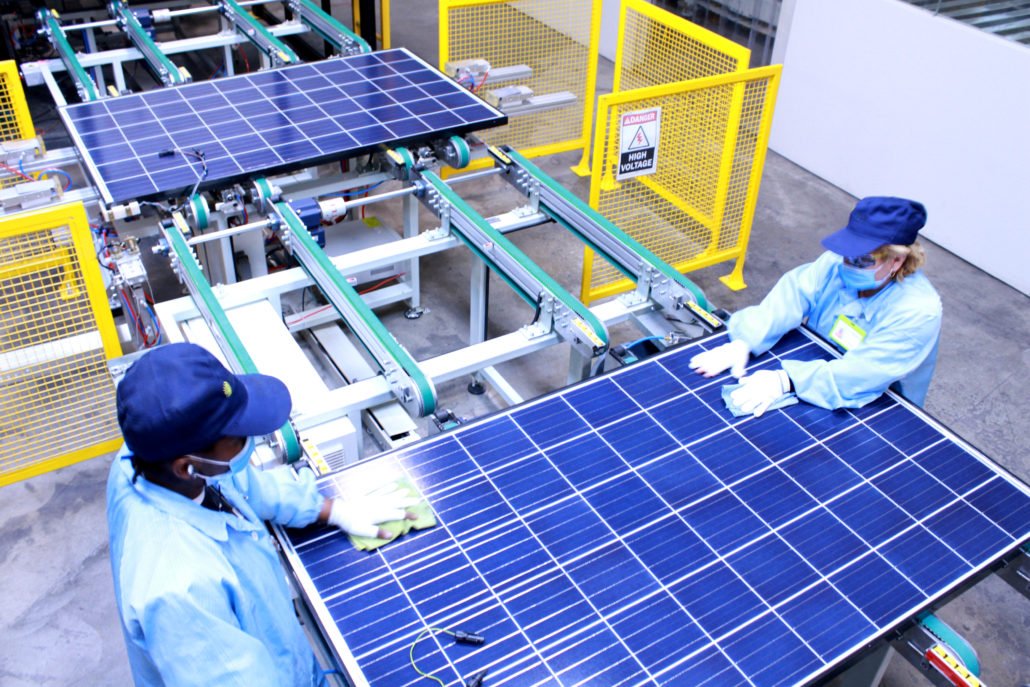
Are you curious about how a solar panel is made? What processes are involved to get to the final product? Well, for all those who are seeking answers to these questions, SOLARPARTS will provide all-round information to help you get yo know the manufacturing process of solar panel.
Step 1: Cell Cutting
Using a laser cutting machine, cells are cut out. Depending upon the wattage of the panels you want, the size of a cell is determined. For a full cell size modules, this process is skipped.
Step 2: Stringing Process
It is a fully automated process. These cells are then assembled or soldered together. The upper Sun facing Side (Blue / Black side) is the negative part while the bottom white side is positive.
Step 3: Solar Glass
Once the cells are stringed together, the machine transfers it to tempered glass, which already having ethylene vinyl acetate (EVA) encapsulation layer over it.
Step 4: Visual Inspection
The cells are examined by a technician for any fault or error in any string.
Step 5: Taping
In taping, a technician tapes the cells into a matrix alignment.
Step 6: Connection
Connections are then soldered together. Any excess material is cut out.
Step 7: Insulate Module Connection
The next step consists of insulating the connections by using a back sheet and EVA encapsulation. This process protects the module from any dust and moisture.
Step 8: Mirror Observation
The module is visually checked once again for any dust particle, colour mismatch, etc.
Step 9: EI Testing
EI Testing or Electroluminescence test is the real testing of the module made so far. It is a testing process, where the module is kind of scanned in an EI machine. We can easily spot any dead or low power cell, short circuit cells, cracks, etc. If any such error is spotted, the module is sent back for fixing the error.
Step 10: Lamination Process
The module is laminated at 140-degree Celsius. This process takes approximately 20 minutes. After lamination, the modules are left for 10-15 minutes to cool down till it reaches room temperature.
Step 11: Trimming Backsheet
This step involves cutting off the excess material of the back sheet to make perfectly shaped modules.
Step 12: Frame Cutting
In this step, frames of different sizes are cut out for bordering the panels.
Step 13: Frame Punching
Then holes are punched in the frames for the purpose of mounting and grounding the panels.
Step 14: Sealant Filling / Framing
A sealant protects the panels from air, dust, and moisture and helps the module to firmly attach on the frame. After the frame is attached to the module it is again sent to the framing machine, where it is punched to make sure it is permanently attached to the frame. Connections are then soldered and left for 10-12 hours for curing, so that the structures are perfectly dry and attached properly.
Step 15: Fixing Junction Box
A junction box is attached to the module using the sealant to firmly attach it to the structure. Connections are then soldered and left for 10-12 hours for curing, so that the structures are perfectly dry and attached properly.
Step 16: Clean Module
The module is then wiped outside to remove any traces of dust, foreign particles or extra sealant.The module is connected to check its output current, voltage, power, etc. A report is generated for each module’s output data. A back label (with all details) is pasted behind the module for the benefit of the users. Finally, the module is sent to the QC lab where it is tested for insulation resistance. A 3000 V DC is passed through it for a minute. If the panel can endure the current, it is passed else failed. Then it is sent to Mechanical Load Test.
Step 17: Module Testing
The module is connected to check its output current, voltage, power, etc. A report is generated for each module’s output data. A back label (with all details) is pasted behind the module for the benefit of the users. Finally, the module is sent to the QC lab where it is tested for insulation resistance. A 3000 V DC is passed through it for a minute. If the panel can endure the current, it is passed else failed. Then it is sent to Mechanical Load Test.
Step 18: Packing
After Final Quality Assurance (FQA), this is the last step in the module manufacturing process, where the modules are safely packed into large boxes for transportation and storage.
To learn more, just pay attention to the official website of SOLARPARTS. As the best off-grid solar manufacturer, our solar panel series products adopt efficient single crystal cells with a conversion rate of up to 23%! Below is the contact information of SOLARPARTS, looking forward to your consultation!
Phone: +86-13923729619 Fax: +86-755-28720791
WhatsApp: +86-13923729619 Wechat: 13510027129
Email address: Philip@isolarparts.com
Homepage: www.isolarparts.com